
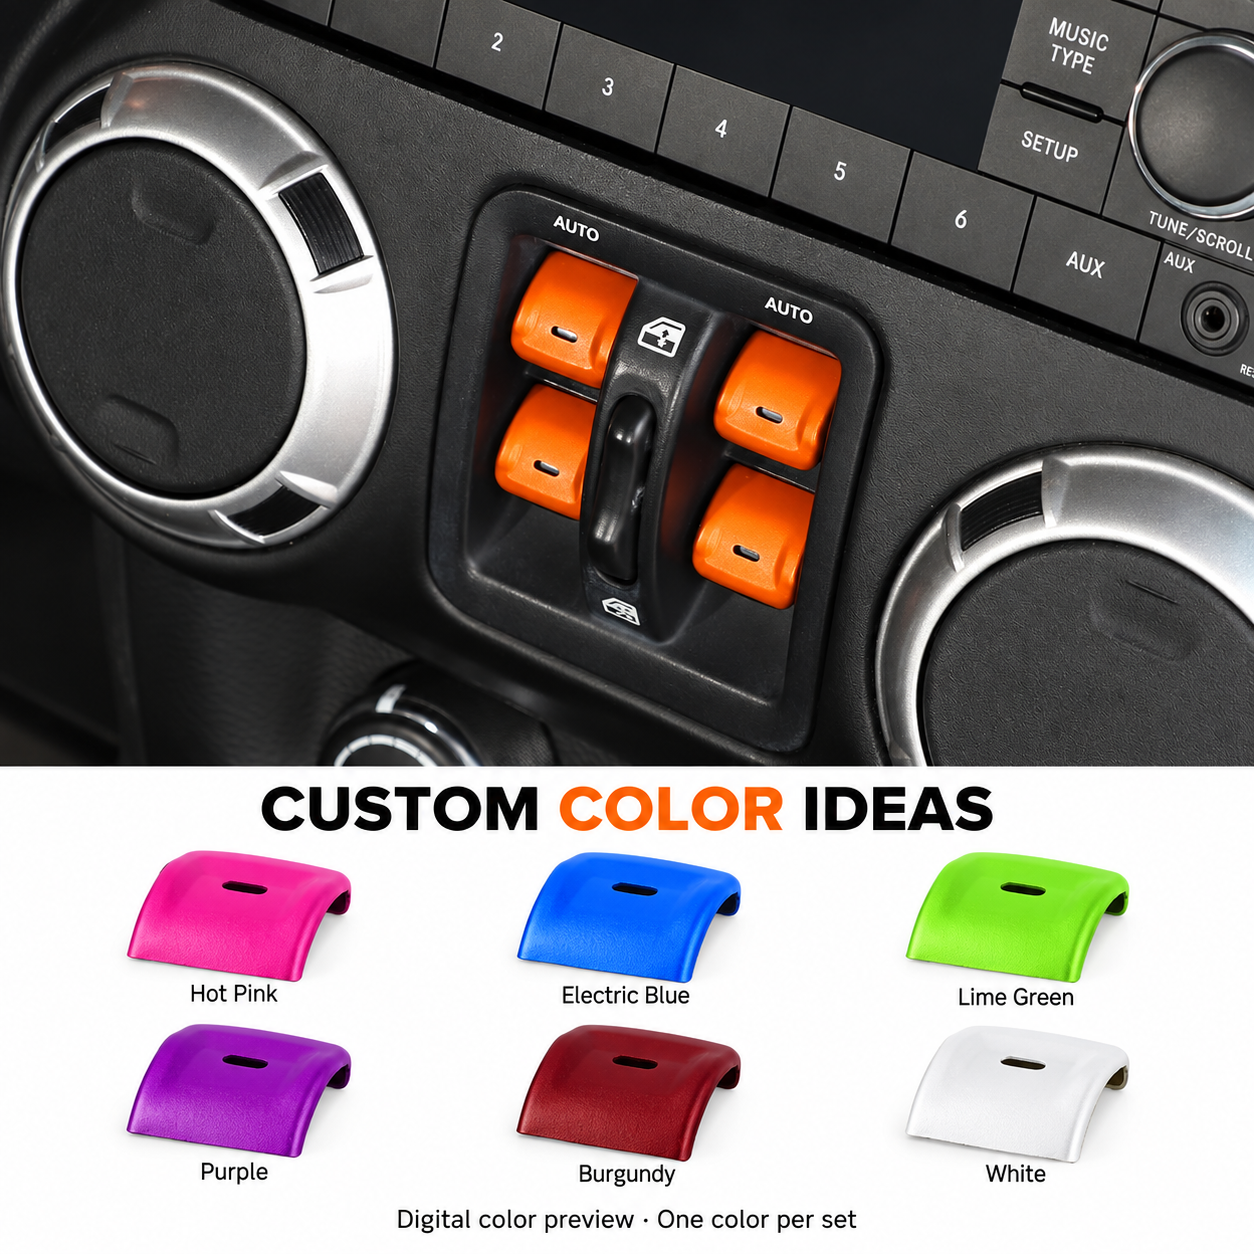
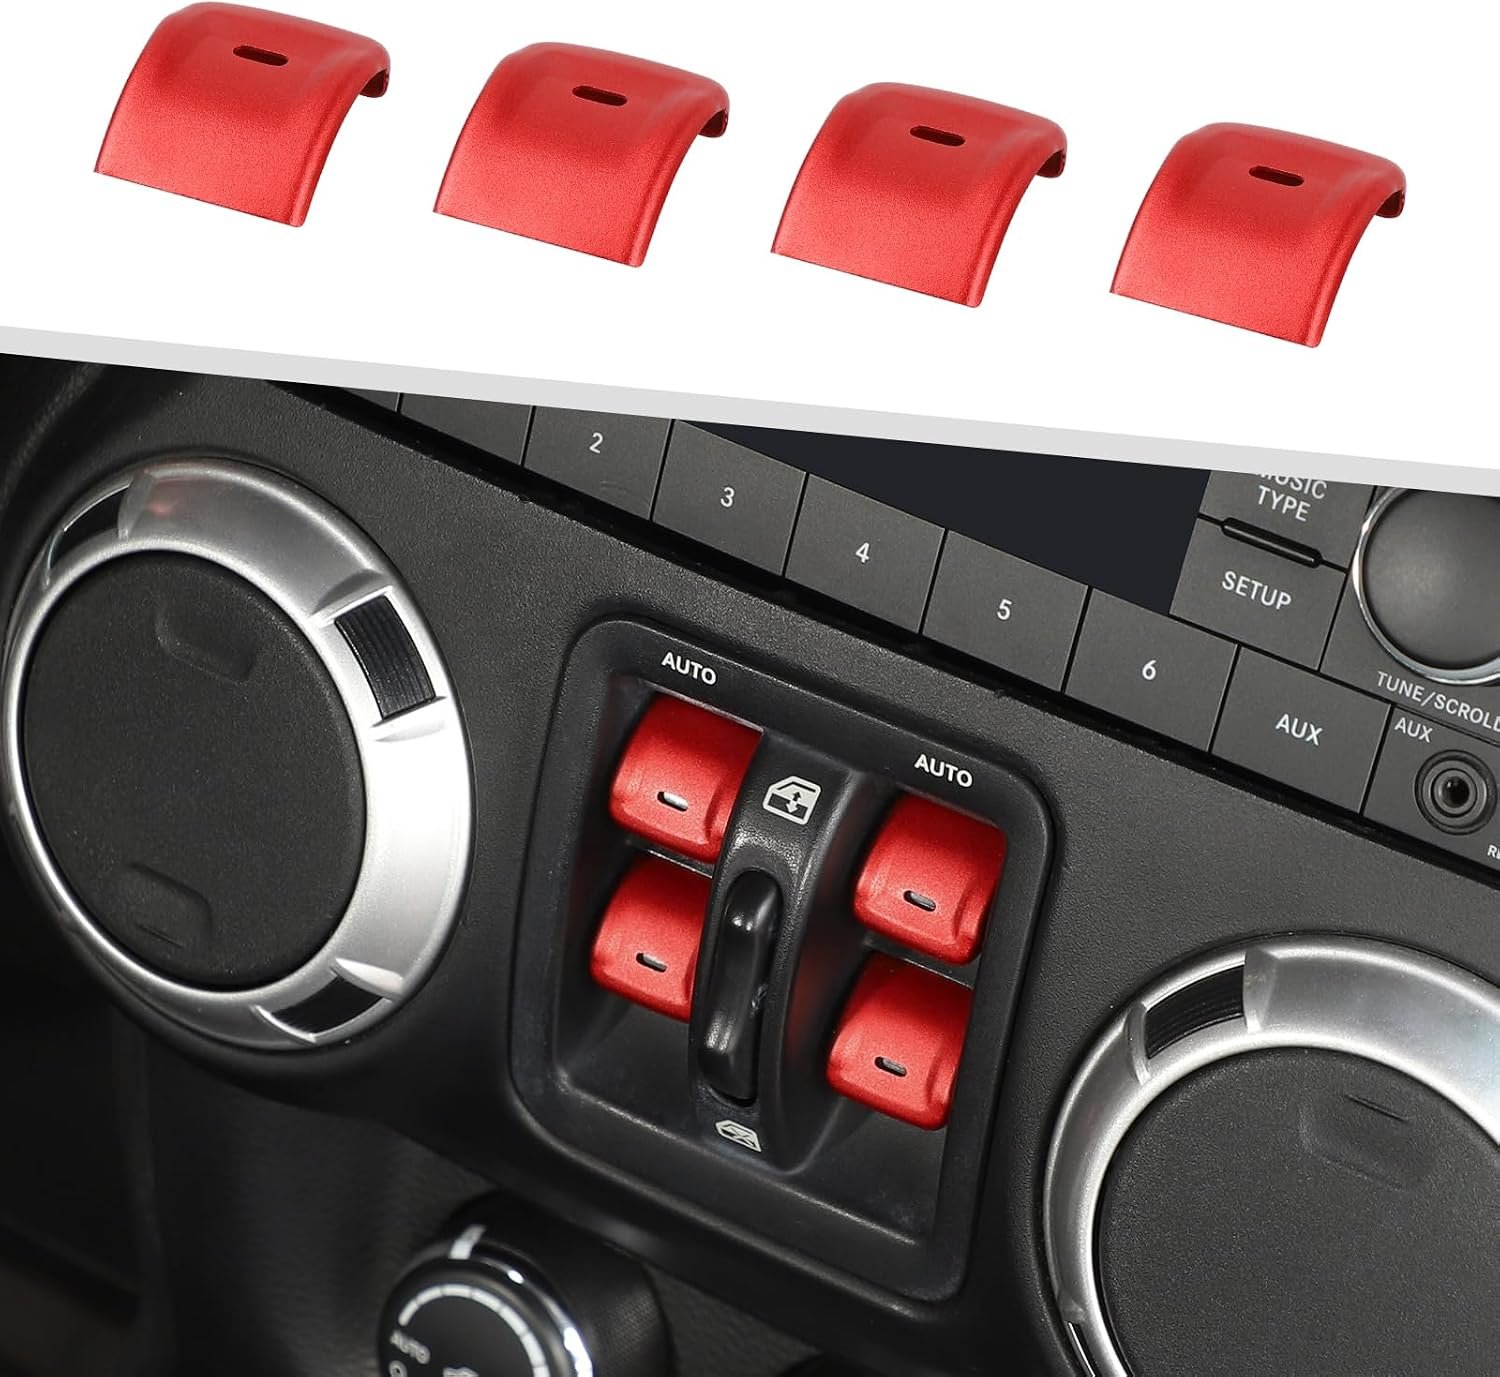
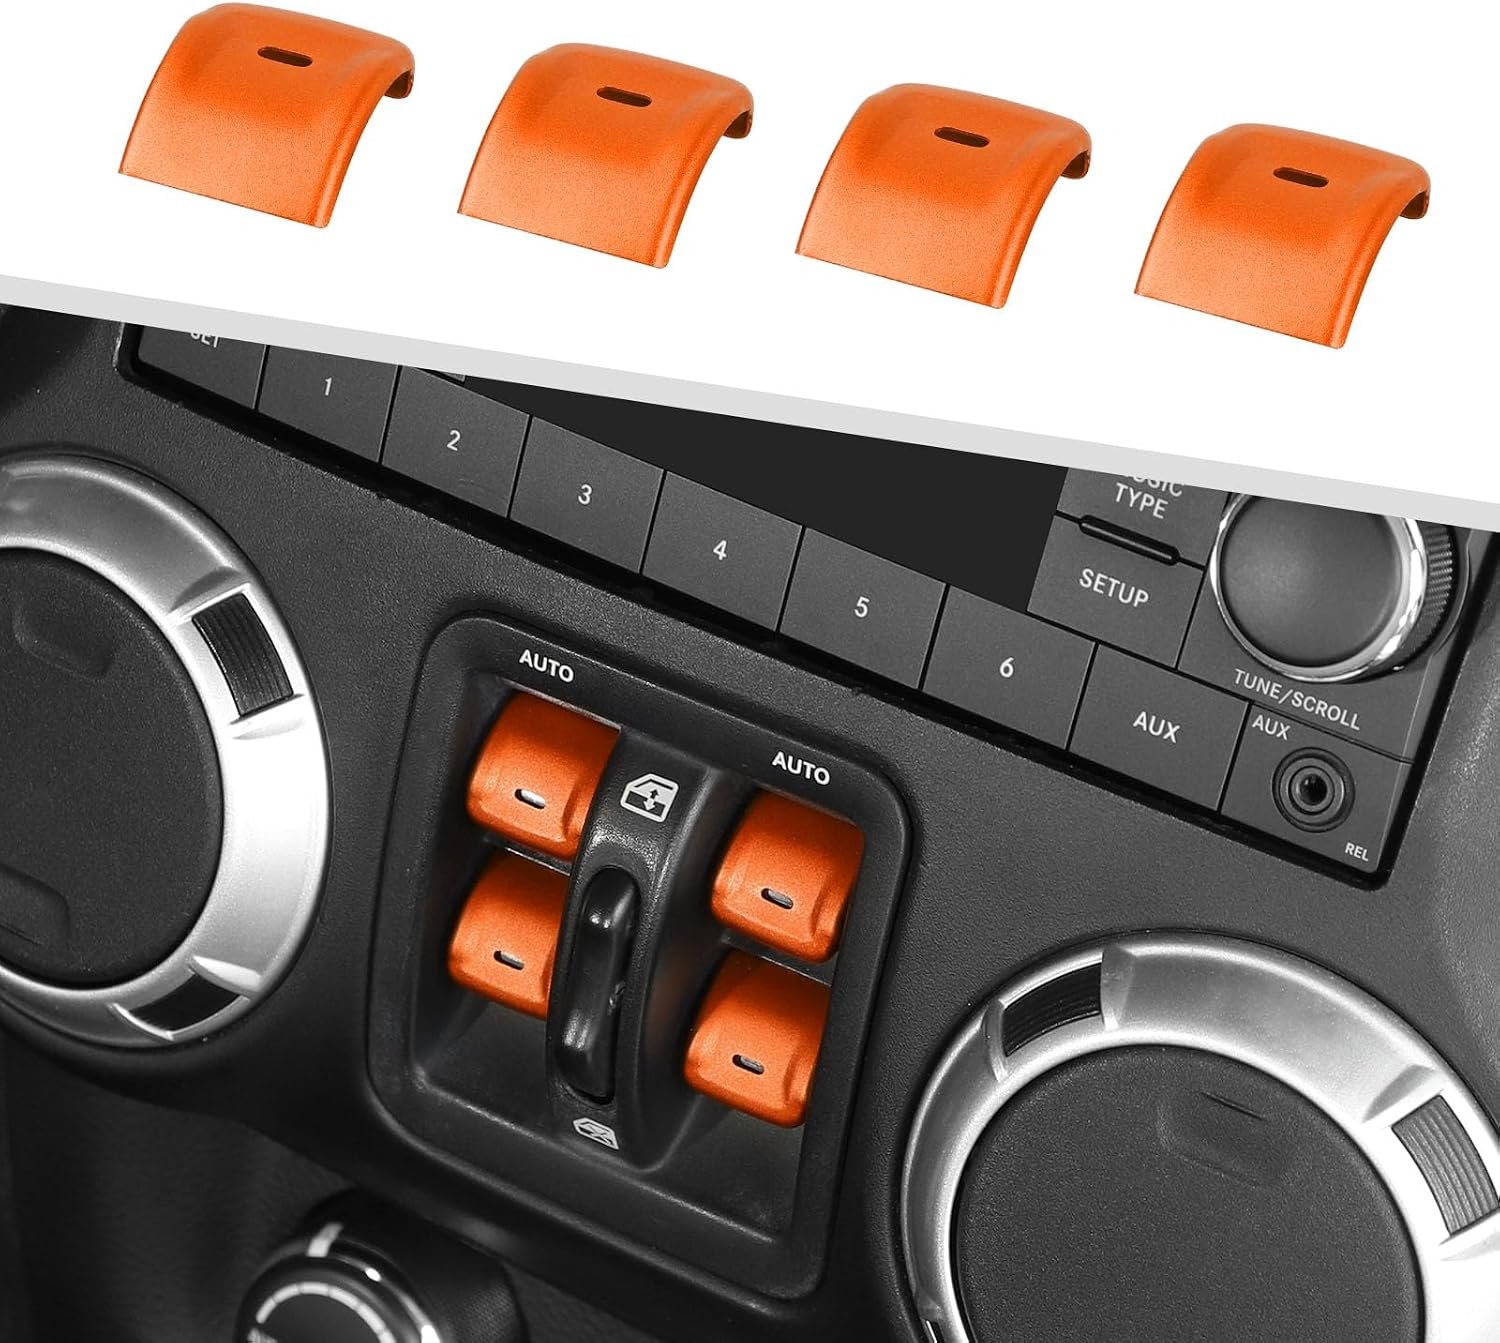
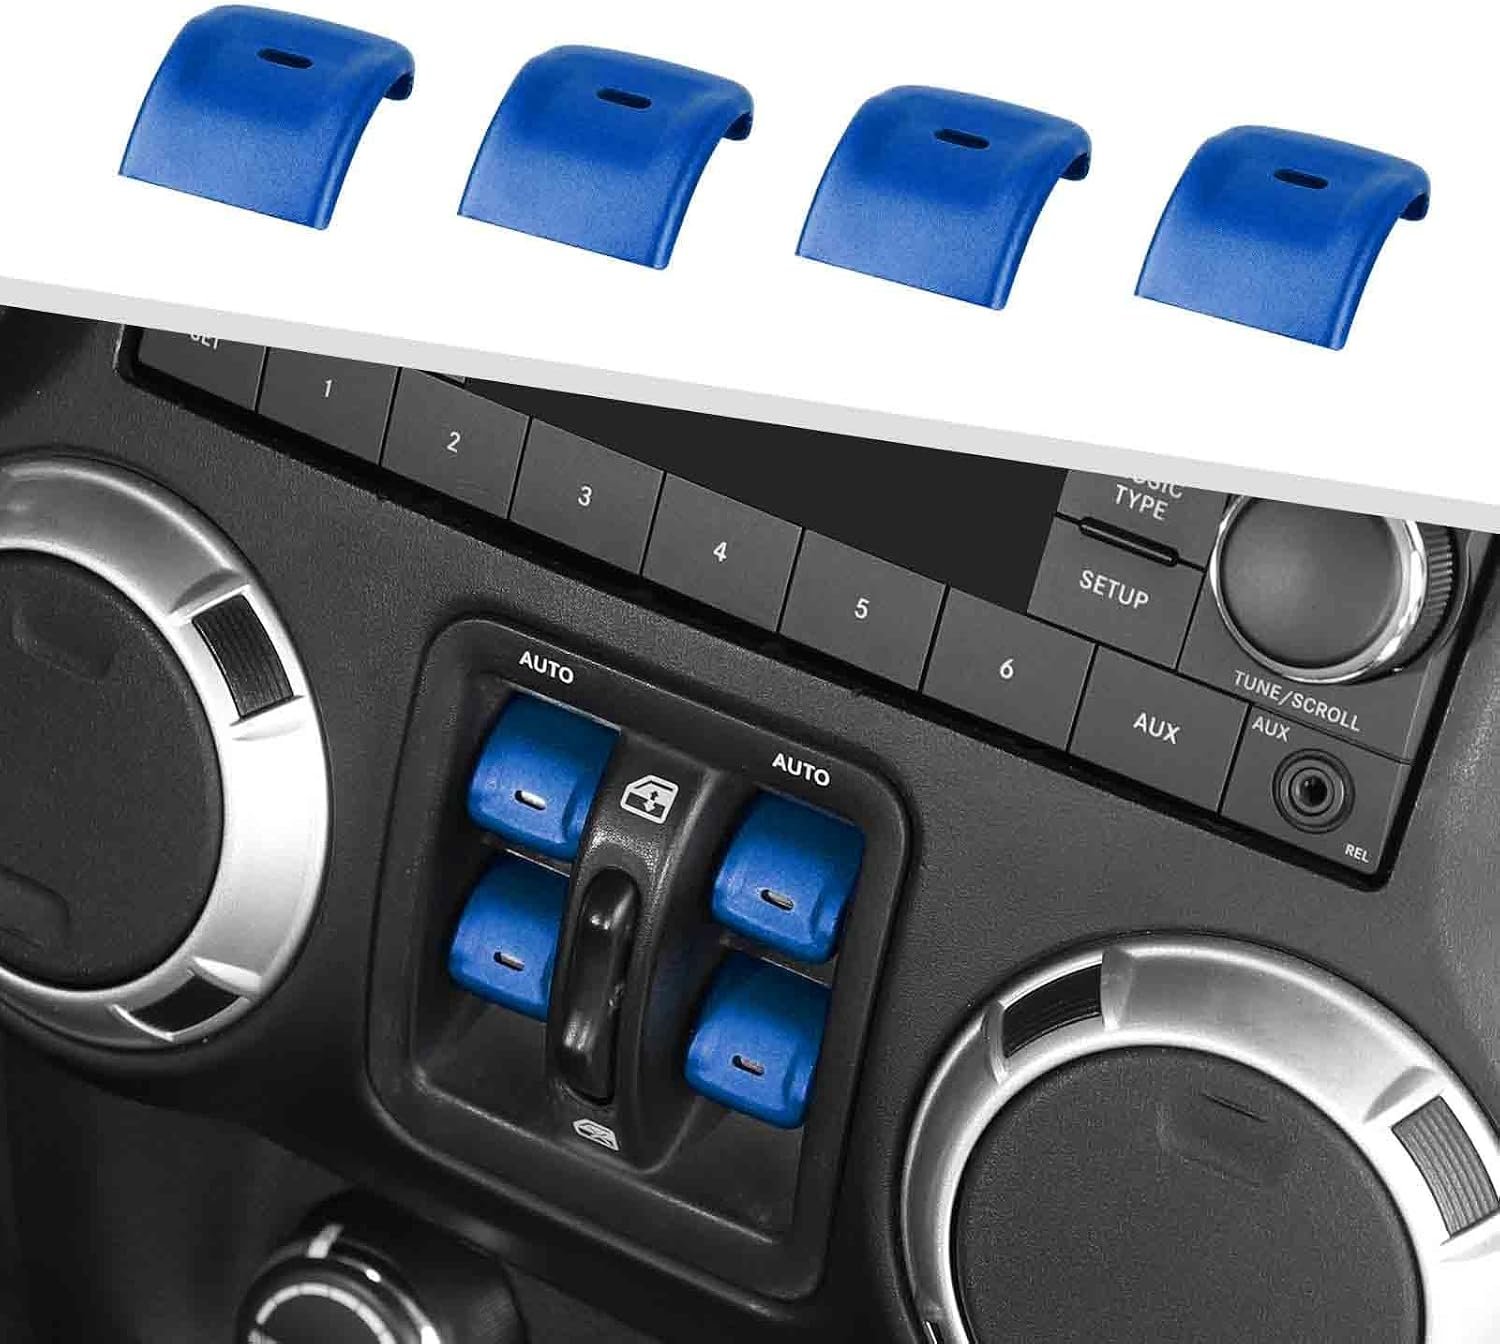
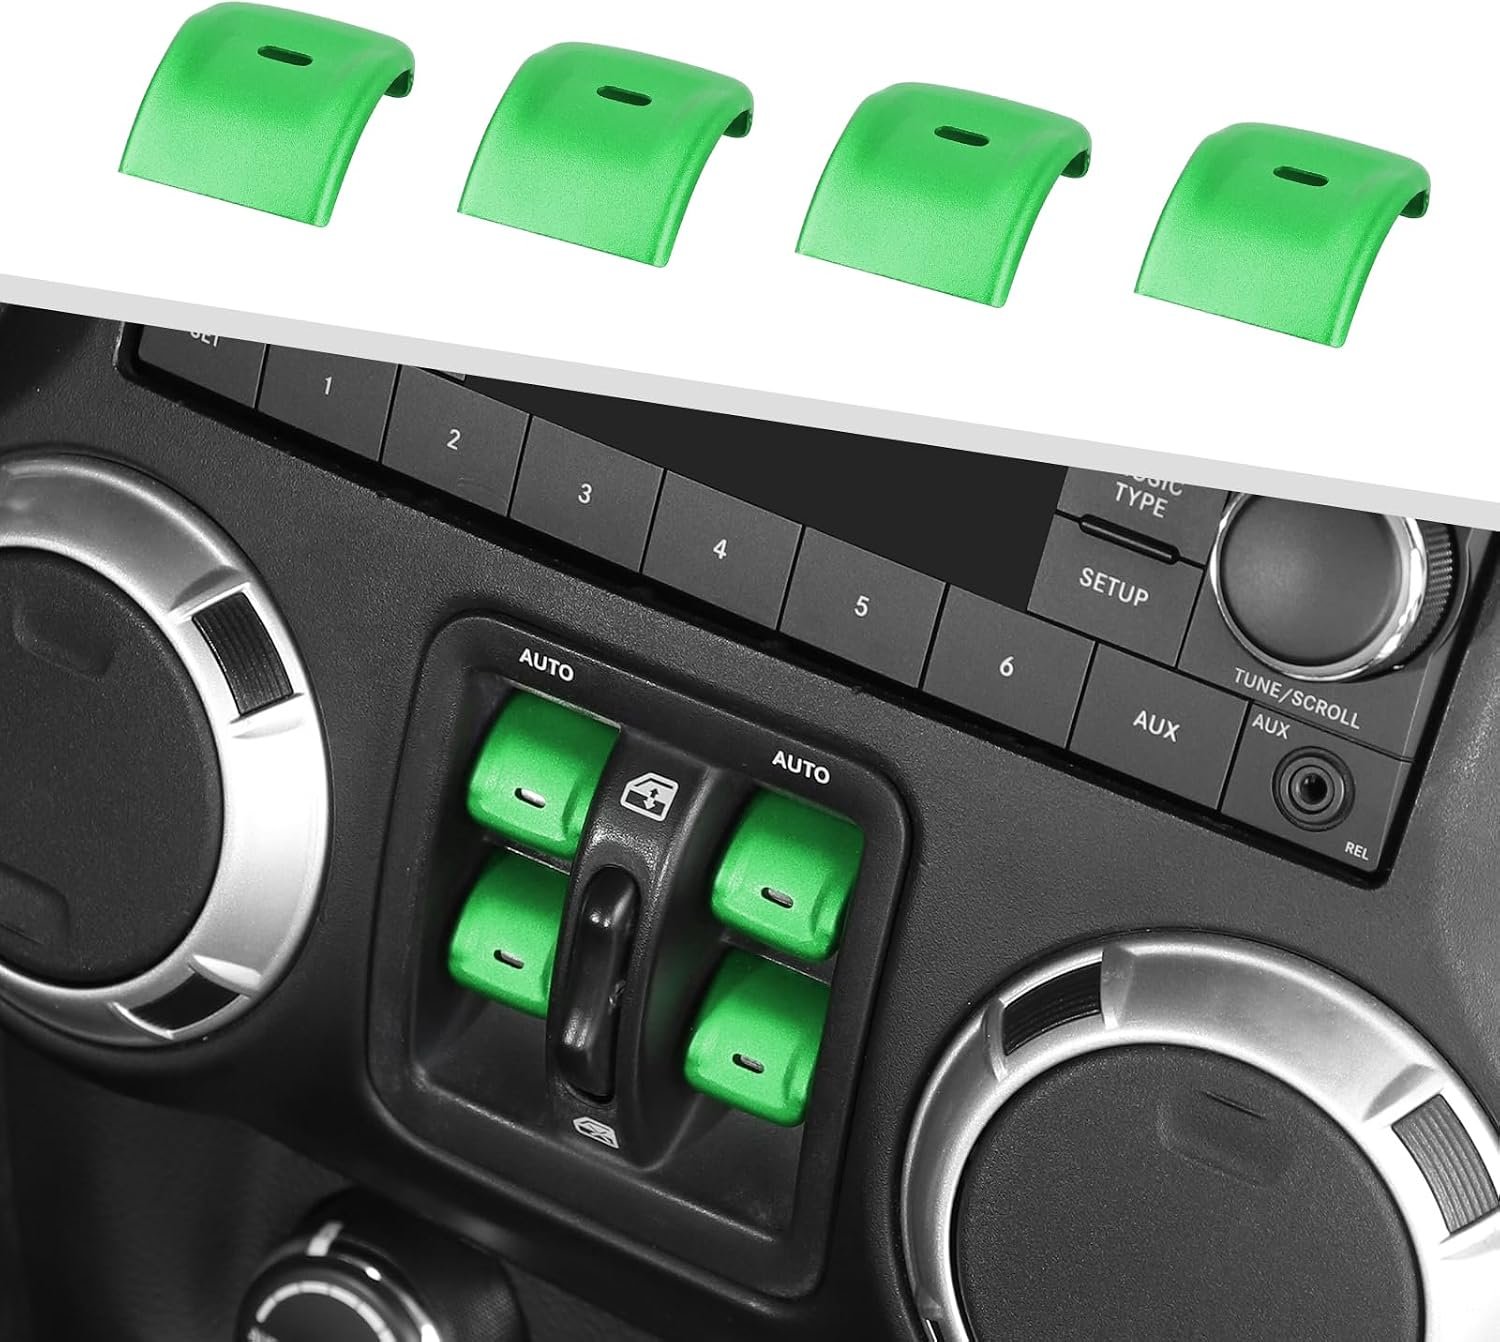
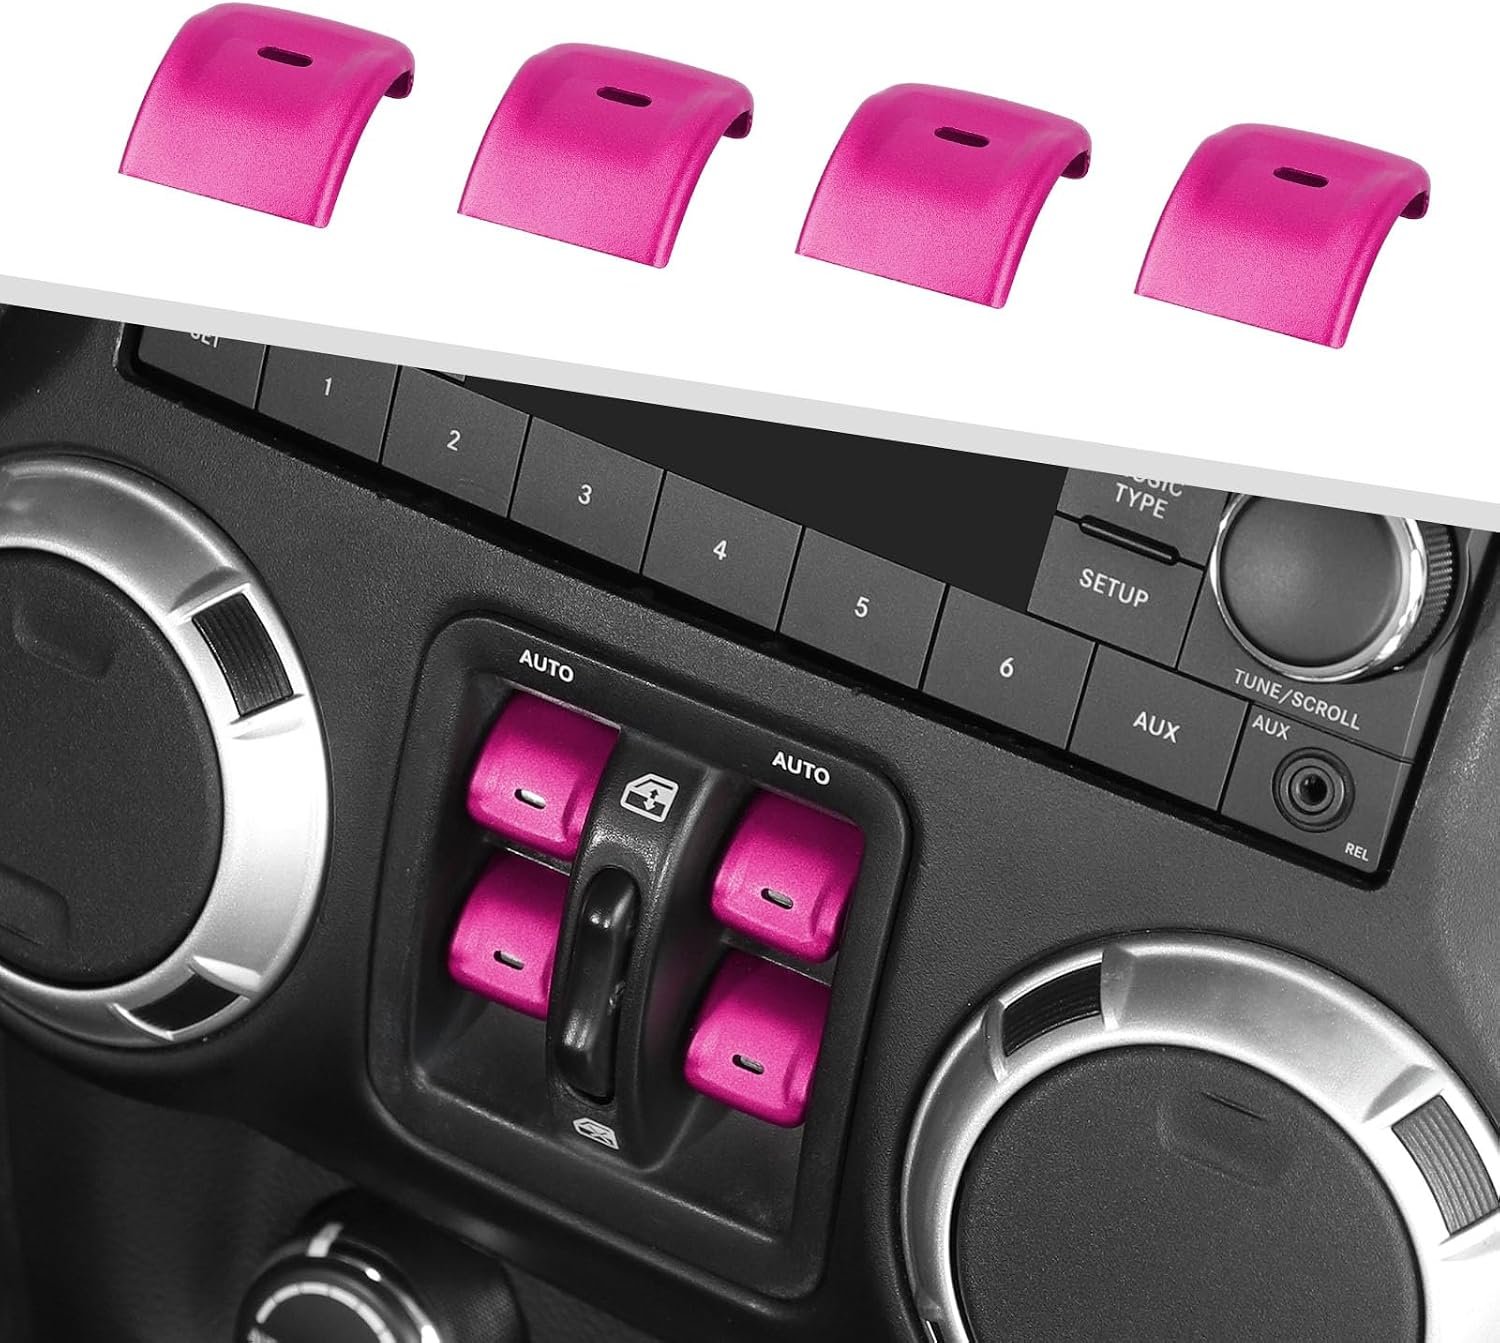
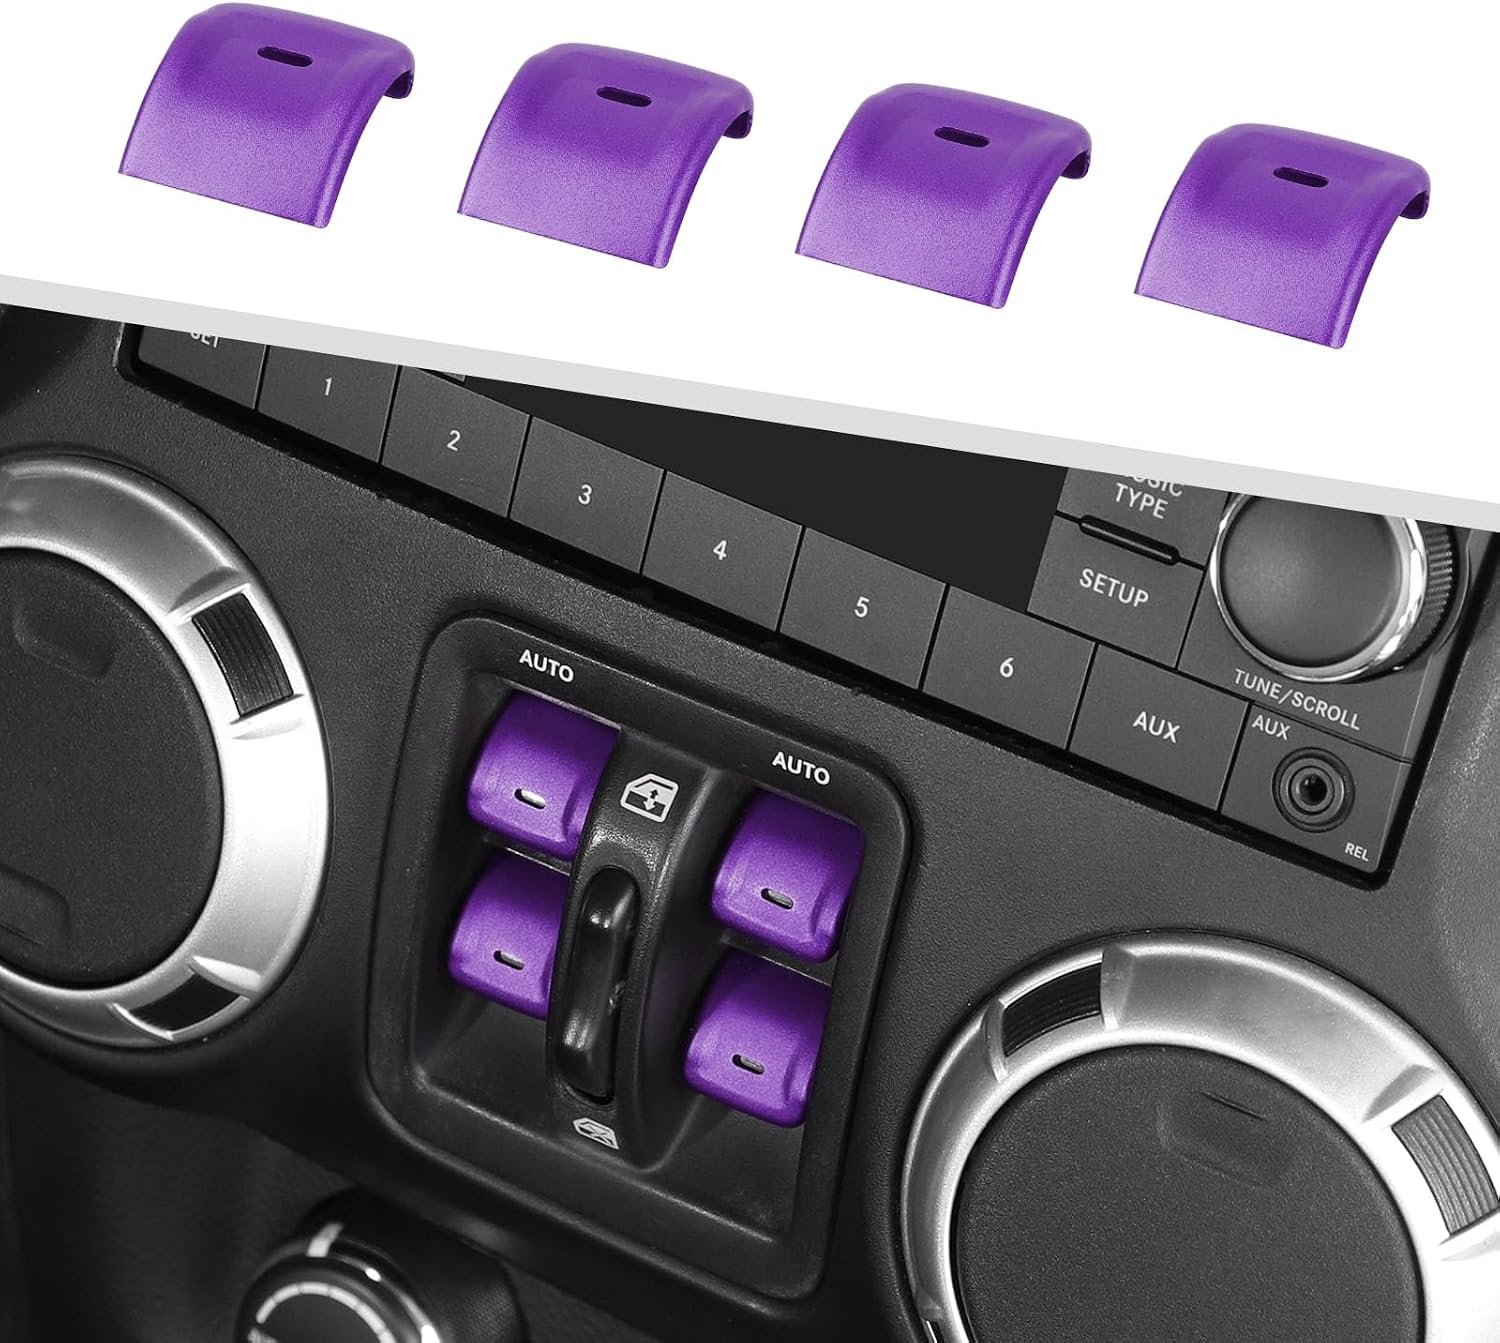
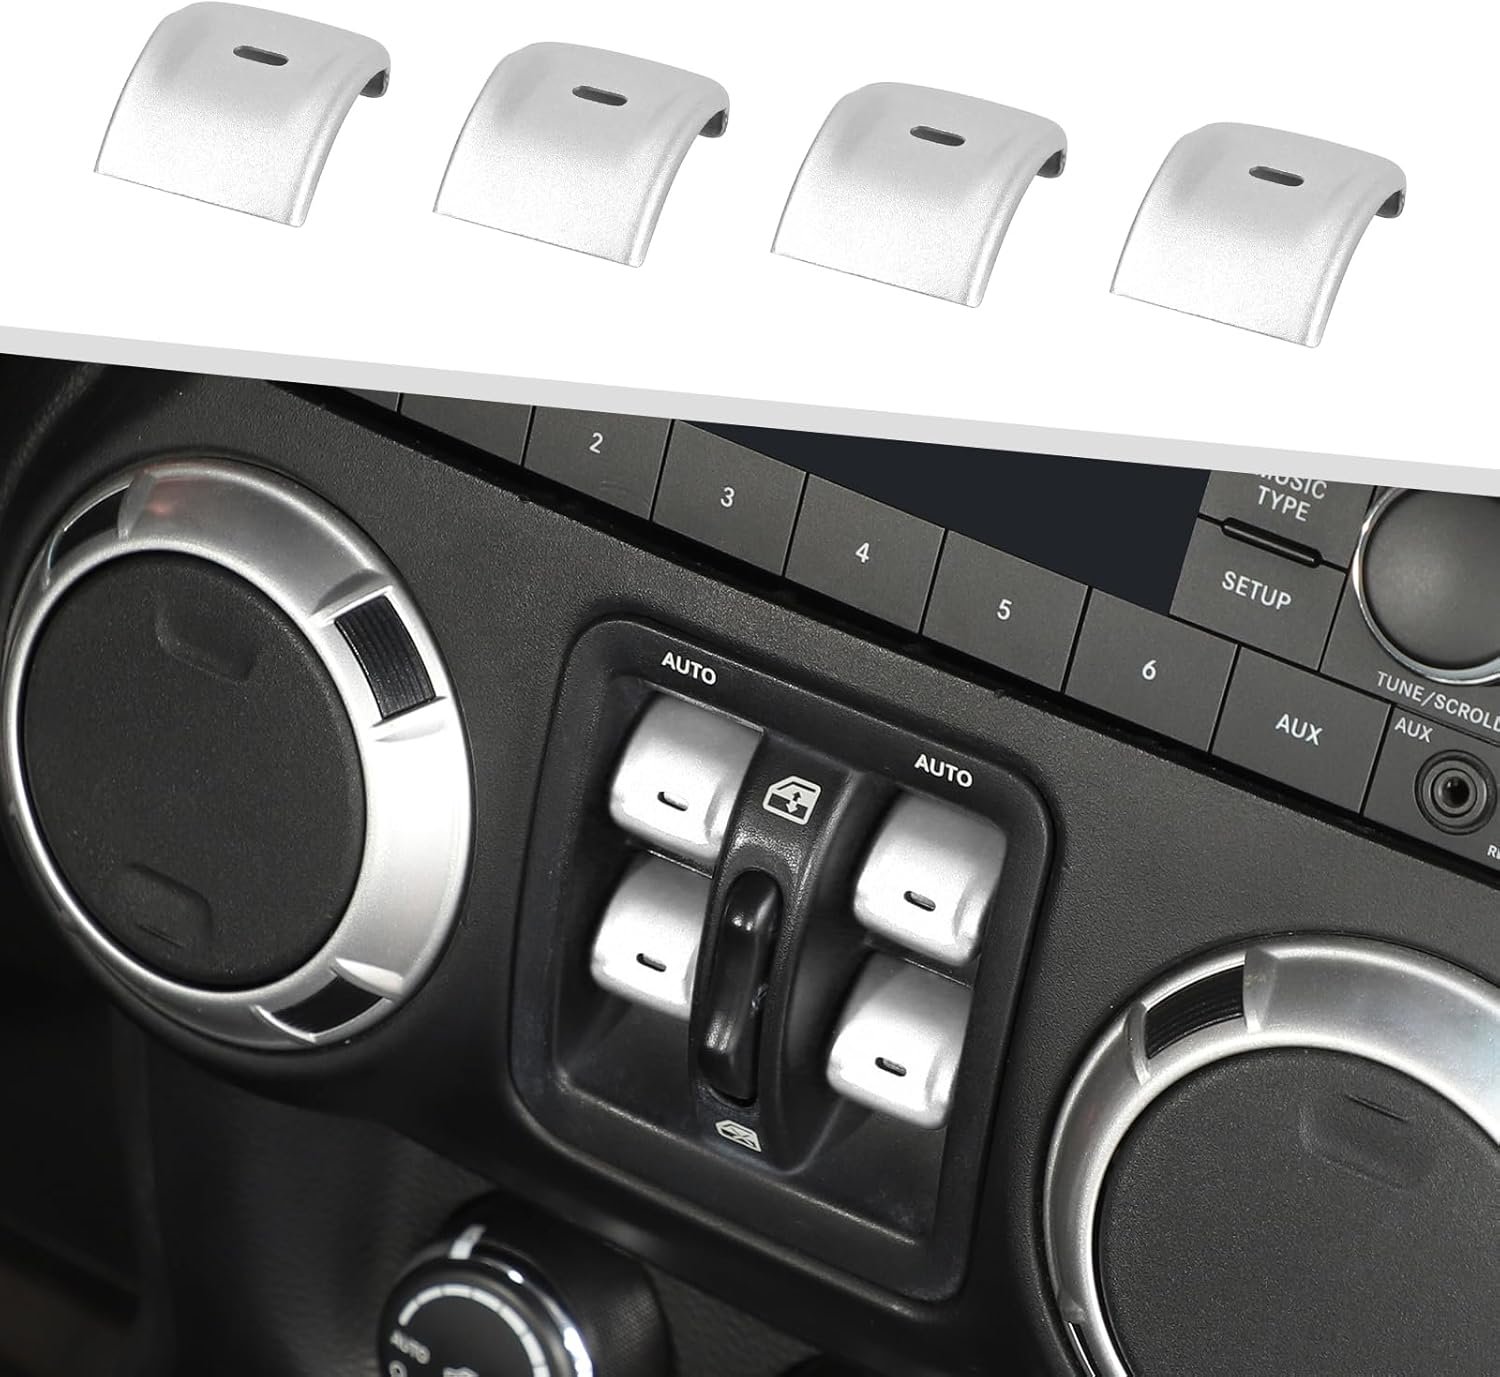
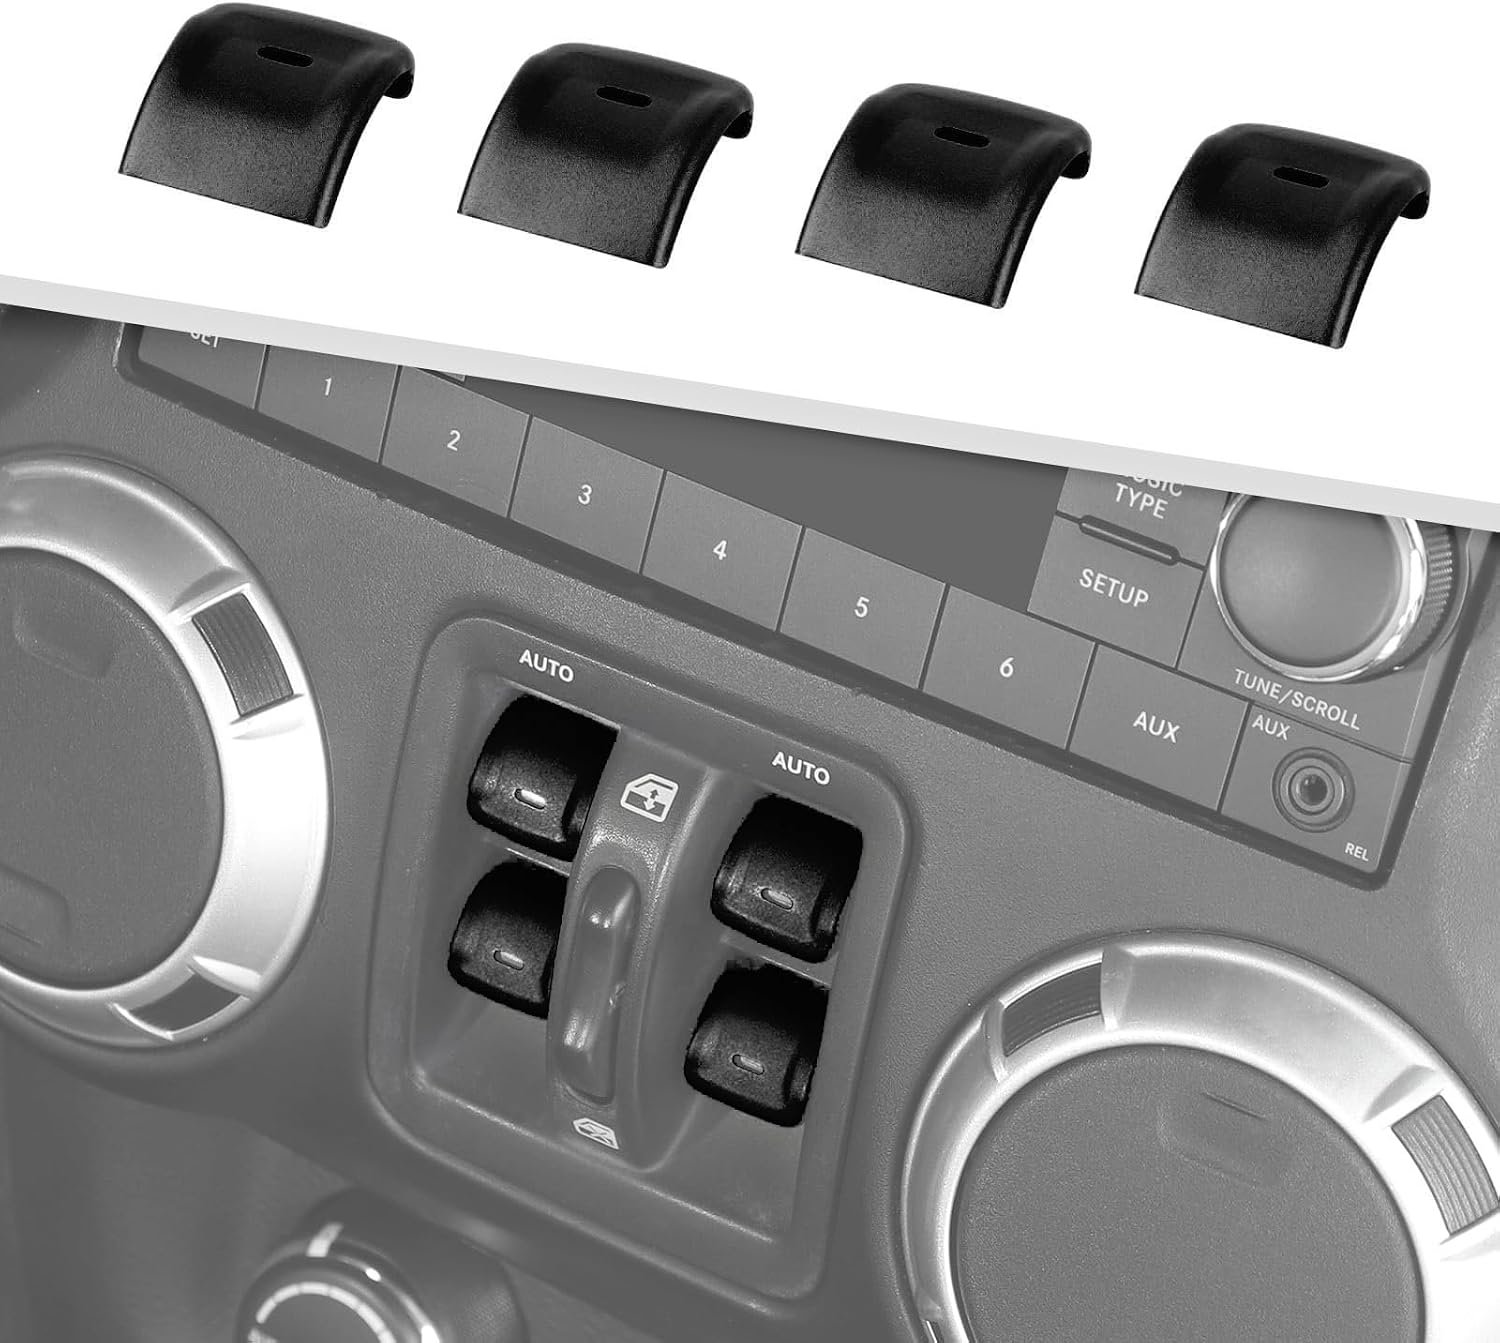




A Small Detail. A New Look.
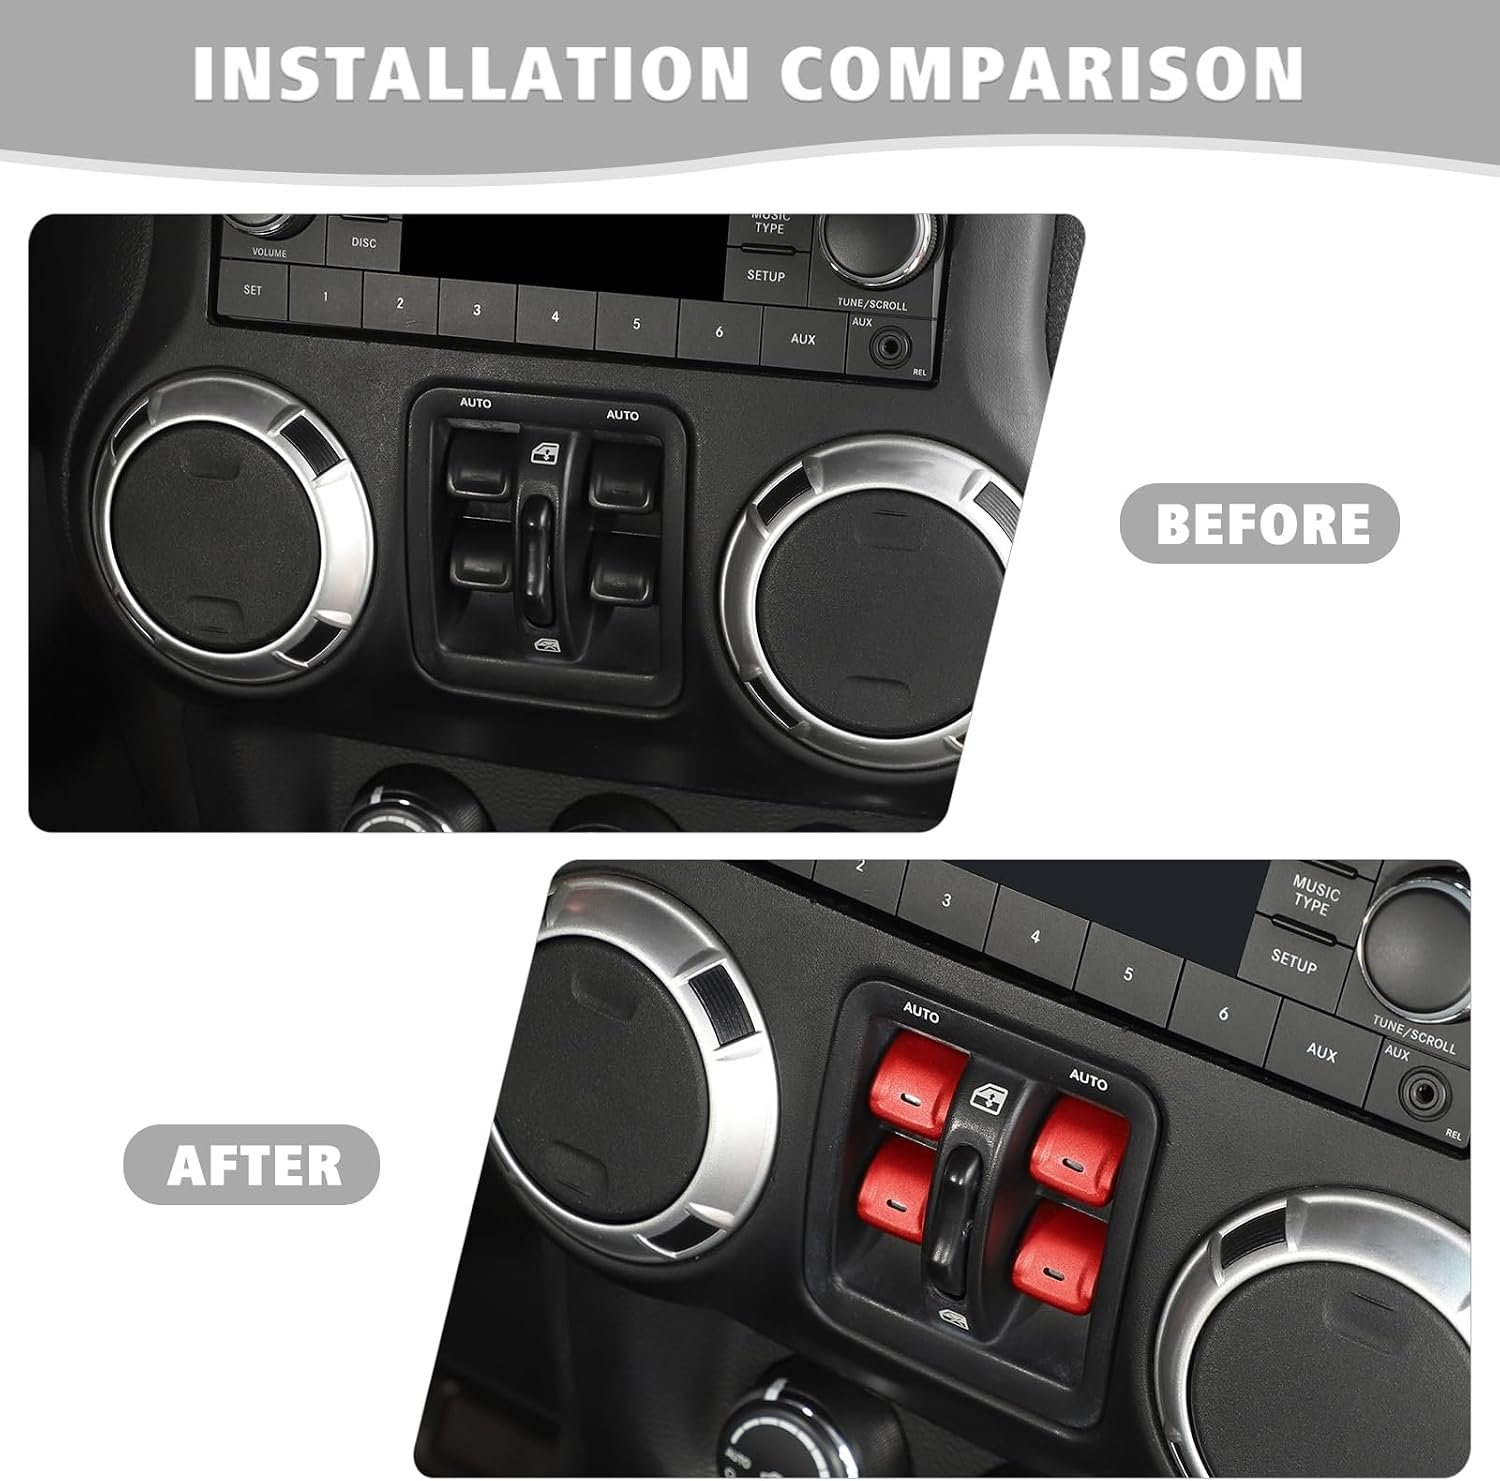
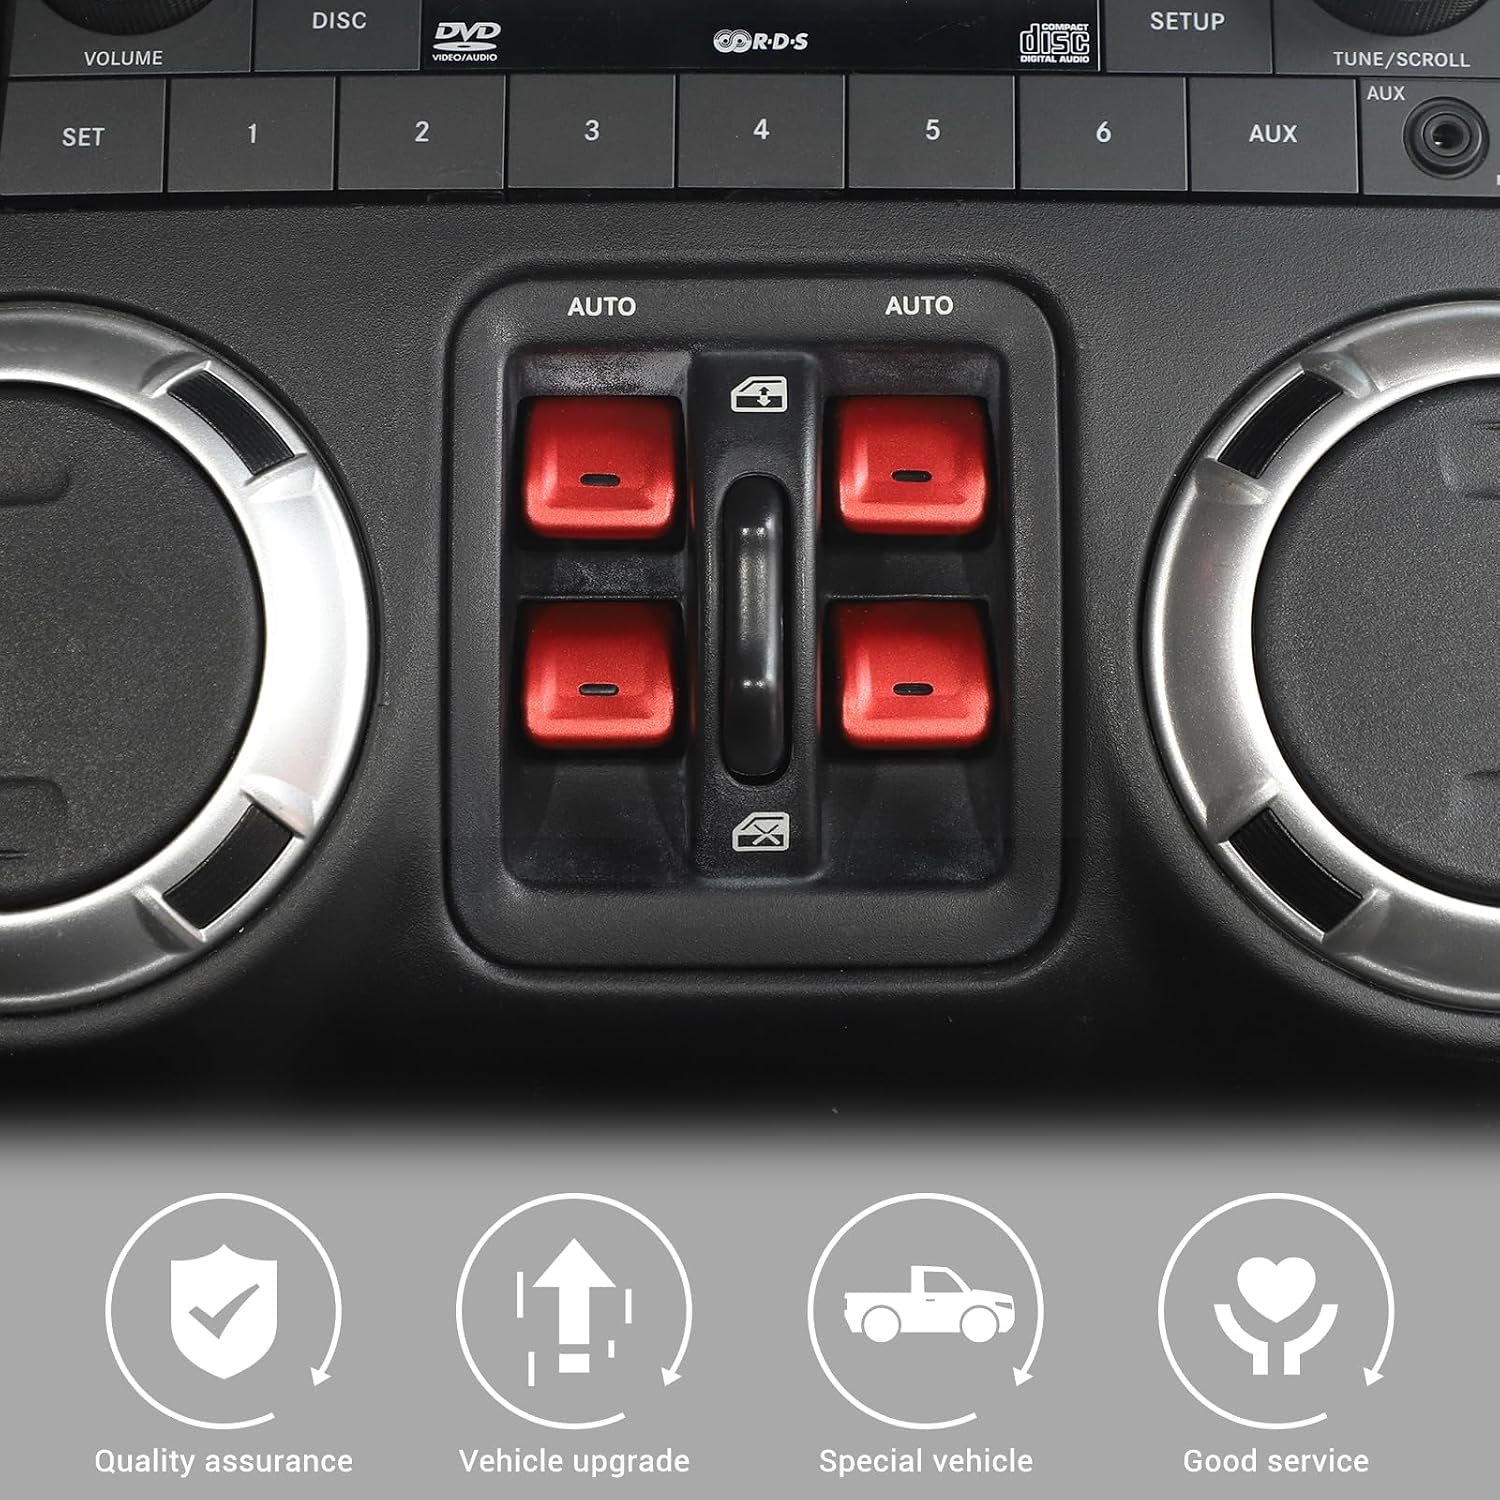
Add a coordinated metallic accent to the four center-stack power-window buttons. These aluminum covers fit over the original buttons; they are decorative overlays, not replacement switches.
Check Your Fit
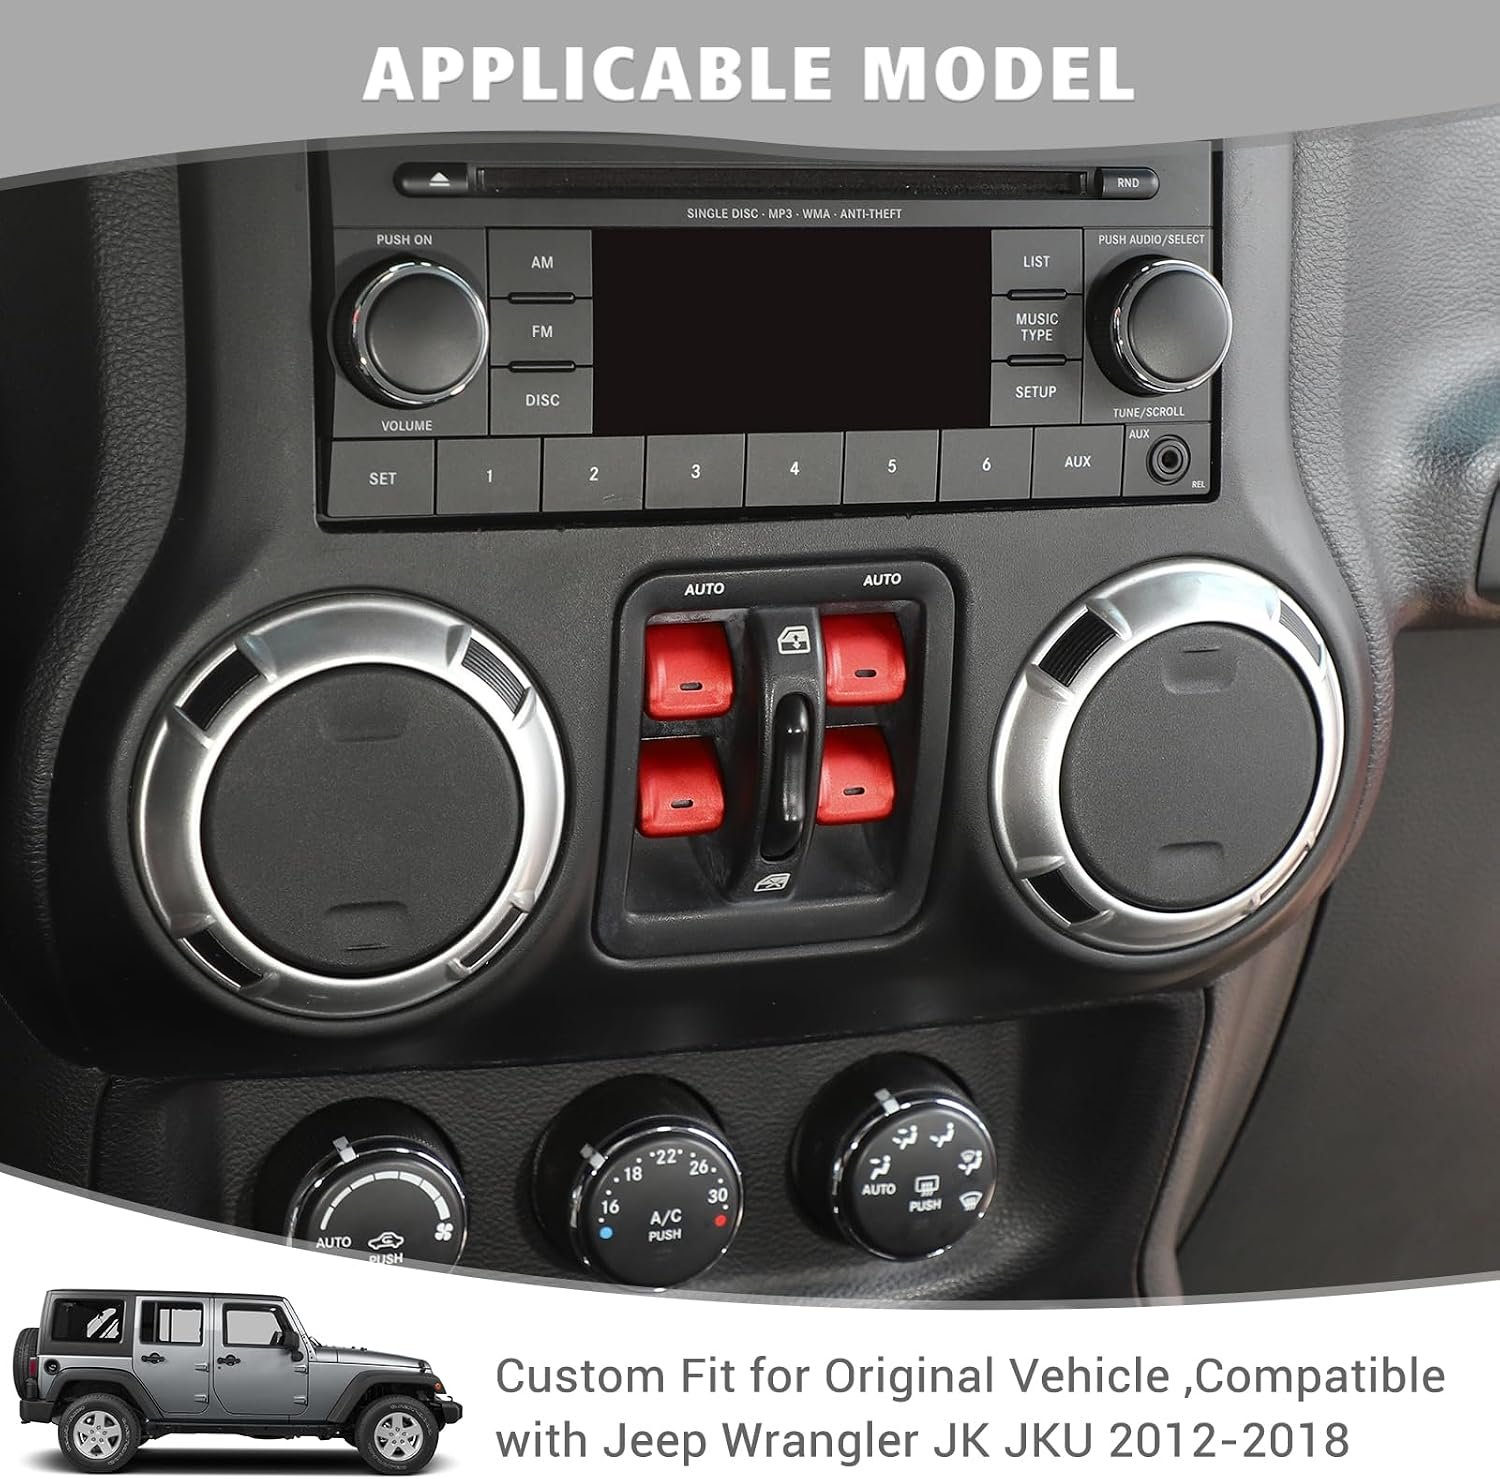
- Jeep Wrangler JK / Wrangler Unlimited JKU, model years 2012–2018, with the matching factory window-switch layout shown in the photos.
- 2018 compatibility is for the JK generation, not Wrangler JL. Not listed for Gladiator JT.
- Compare the button shape and layout before ordering. This four-piece set is shown on a four-switch panel; do not assume it fits a different panel or aftermarket switches.
Product Details
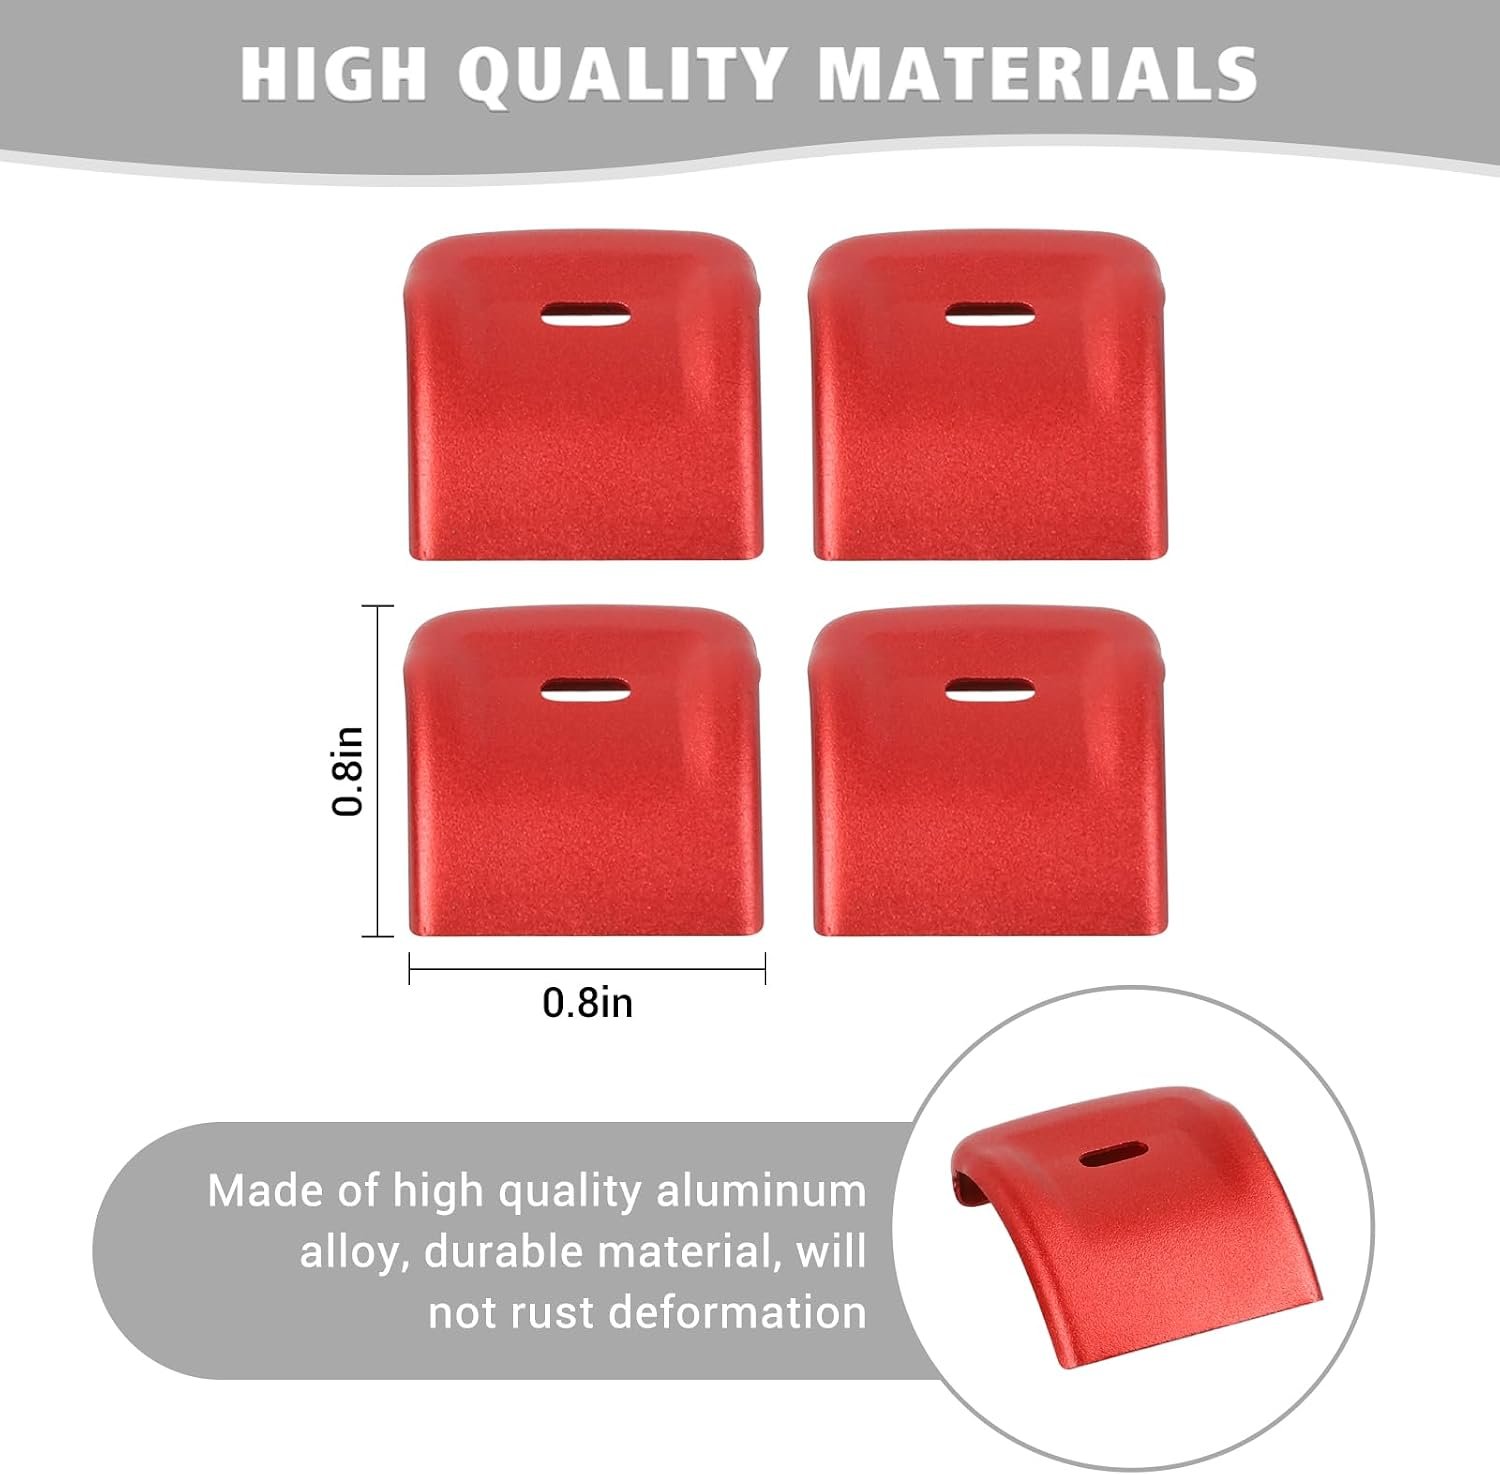
- Four aluminum-alloy window-button covers in one selected color.
- Adhesive-backed fitting without drilling or cutting.
- Small openings align with the original button indicators.
- Approximate face dimensions shown: 0.8 × 0.8 in per cover.
Installation Guide
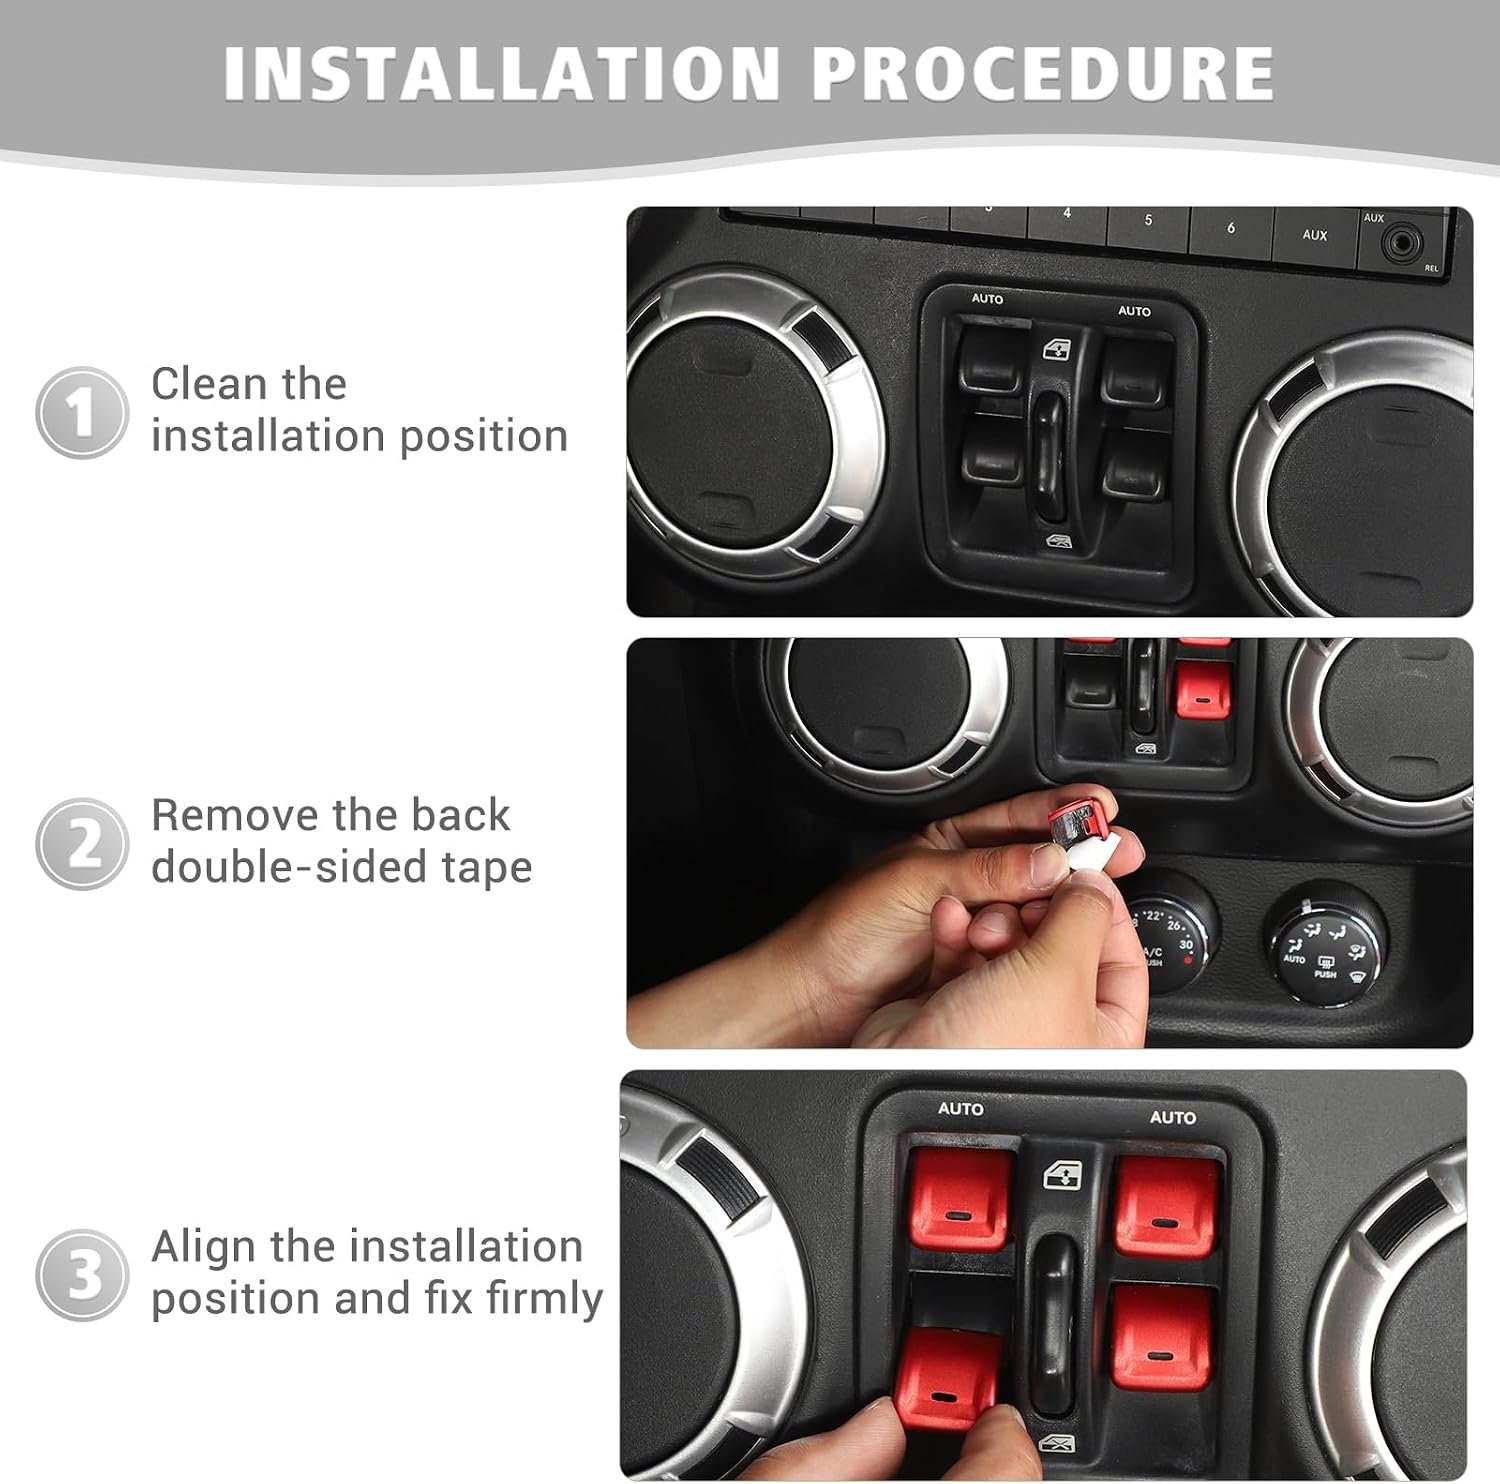
- Check before sticking. Park safely, switch the ignition off and compare each cover with its button. Dry-fit with the adhesive liner still on.
- Clean and dry. Remove dust and oily dressing from the button faces with an interior-safe cleaner on a cloth. Keep liquid out of the switch openings and let surfaces dry.
- Prepare the adhesive. Gently warm the tape with a hair dryer as recommended by the supplier; keep heat moving and do not overheat the plastic. Peel off the protective liner, leaving the adhesive on the cover.
- Align and attach. Keep the indicator opening and button edges aligned, then press the cover evenly into place. Repeat for the other buttons. Do not bridge gaps around moving switches.
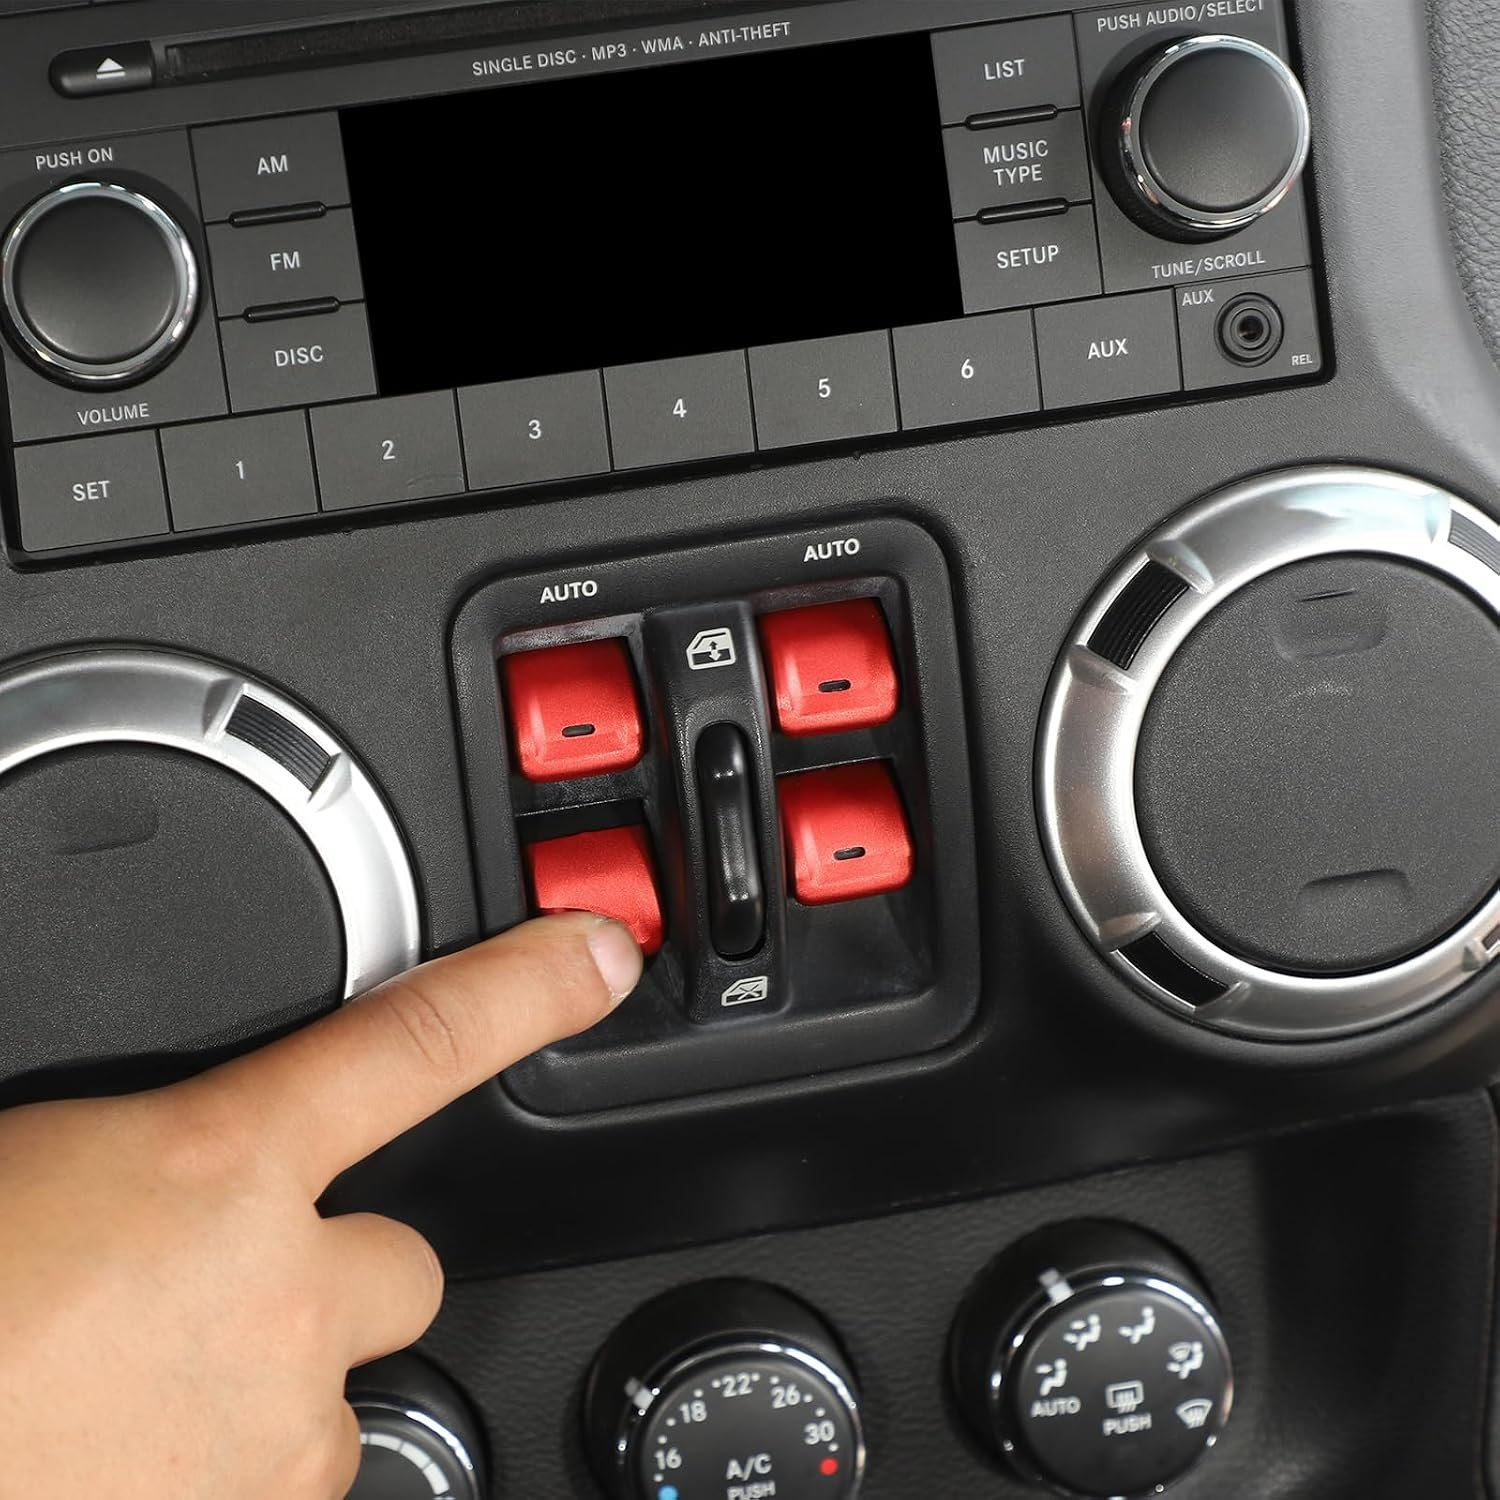
- Check operation. Make sure every button moves freely, returns normally and is securely attached. Stop using any button that binds. Follow the supplied adhesive guidance before cleaning or heavy use.
What Is Included?
4 × window-switch decorative covers in the color selected. The switch assembly, radio, vent rings and other trim visible in installation photos are not included.
Care & Color Notes
Wipe gently with a soft cloth; avoid abrasive pads and aggressive solvents. Lighting and screen settings can affect how the metallic colors appear.
Detailed Installation Photos
Material, Size & Contents
Step-by-Step Installation
Before & After
Installed Close-Up
Final Operation Check
Reviews
There are no reviews yet.